0 作者肺腑之言
程序员的强迫症真是可怕,一个hexo博客我硬是折腾了近一个月,但还是没有完全弄好,限于时间问题,只能就到此打住了,因为真的时间有限。这里对于这段时间折腾hexo个人博客的一个总结,包括很多坑吧,因为刚开始弄,有很多的坑都是自己一步一步踩出来的,然后又通过百度去填补,确实很费时间,这里整理一下,希望多个人博客感兴趣的可以少走一点弯路。让后人少走弯路,我想这就是前人存在的意义吧。
1 准备工作
因为hexo是基于node.js编写的一个静态网页生成工具,可以基于GitHub page进行部署,通过互联网访问,类似于B/S结构。但是底层逻辑有些不同。
你需要准备的环境:
因为安装都很简单,这里就不做赘述了,按照【下一步】方法操作安装完成之后,然后在继续下一步的操作。
2 开启GitHub page服务
2.1 创建repository
能完个人博客的人,应该都有一个GitHub账号了,这里就不讲述如何申请GitHub账号,应该很简单,对于大家来讲,如果实在不会的,可以参考这篇博客。我们要做的就是在GitHub创建自己的page,我们新建一个repository,该repository的命名规则如下:
yourgithubaccount.github.io
比如:下面是我的GitHub page的repository名:crazyjums.github.io。 后面的两个是固定的,前面的必须是你的GitHub用户名,如下:
2.2 配置GitHub page
创建完成之后,然后进入该repository,点击setting,往下翻,找到page服务,有自己个人域名的可以绑定到自己的个人域名,关于如何申请个人域名,可以参考这篇博客,没有个人域名的话,也没关系,我们可以使用类似该域名进行访问:https://crazyjums.github.io。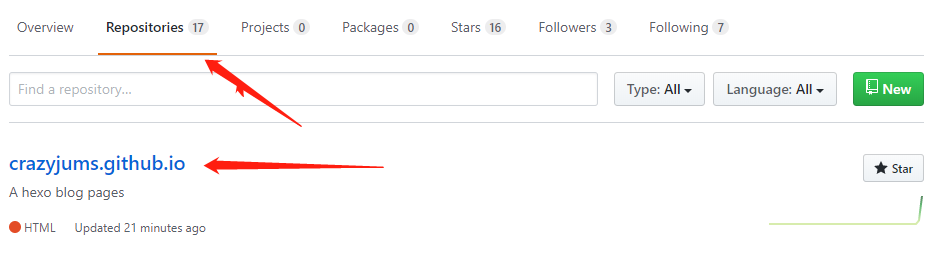


2.3 访问GitHub page
如果配置完成的话,我们可以使用自己的GitHub page地址进行访问,如:https://crazyjums.github.io
3 安装hexo
在第一步中,我们已经安装好了hexo需要的环境,node.js和git,我们现在开始安装hexo,这里针对Windows用户进行讲解,Windows用户到桌面然后右键用过git bash here进入到git终端界面,如下所示: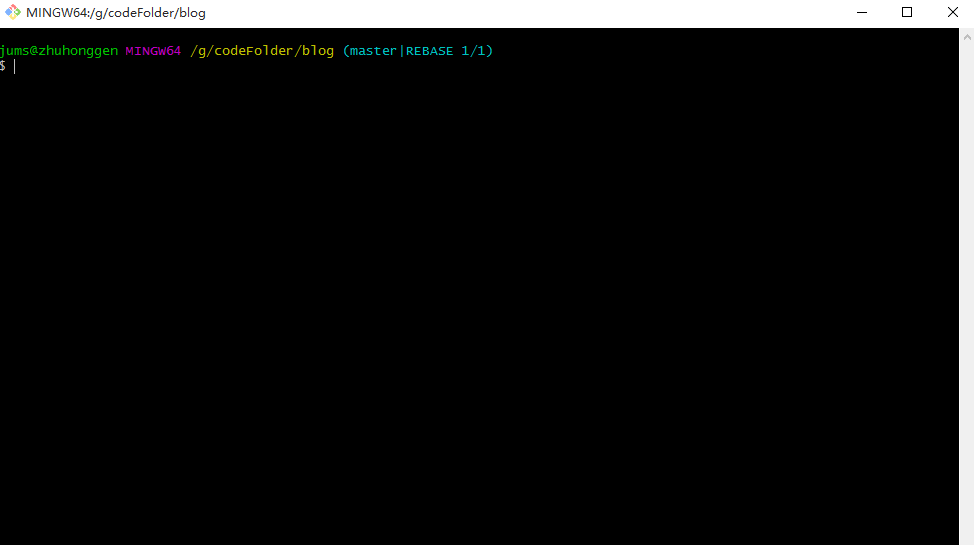
如果你是Mac或者Linux用户,那么直接在终端进行操作节课,因为这两个系统的终端就可以操作git命令。
3.1 安装hexo
使用下面的命令安装hexo客户端,详情可以查看 hexo 官网。
1 | npm install hexo-cli -g |
3.2 启动hexo
安装完之后,我们通过git终端随便进入一个目录,通过cd进入到相应的目录,然后使用hexo i/init your_blog_folder,比如:hexo i my_hexo_blog,如下所示: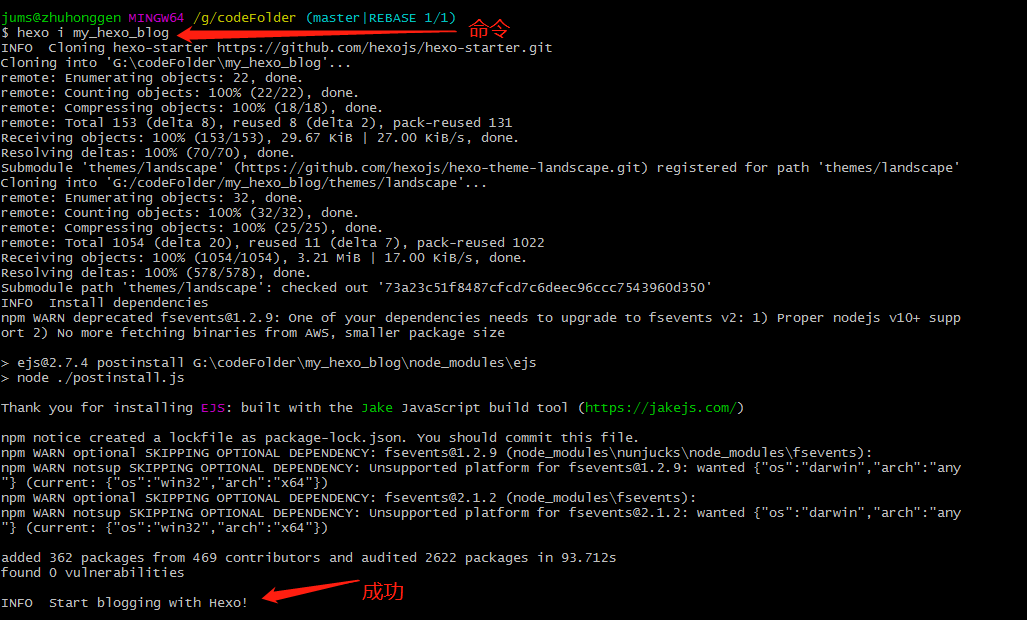
创建完之后,我们使用命令hexo g/generate将Markdown文件生产静态网页,然后在使用hexo s/server/start命令启动服务,如下所示:
启动完之后,我们就可以通过本地链接访问了,链接地址:http://localhost:4000/,如下所示: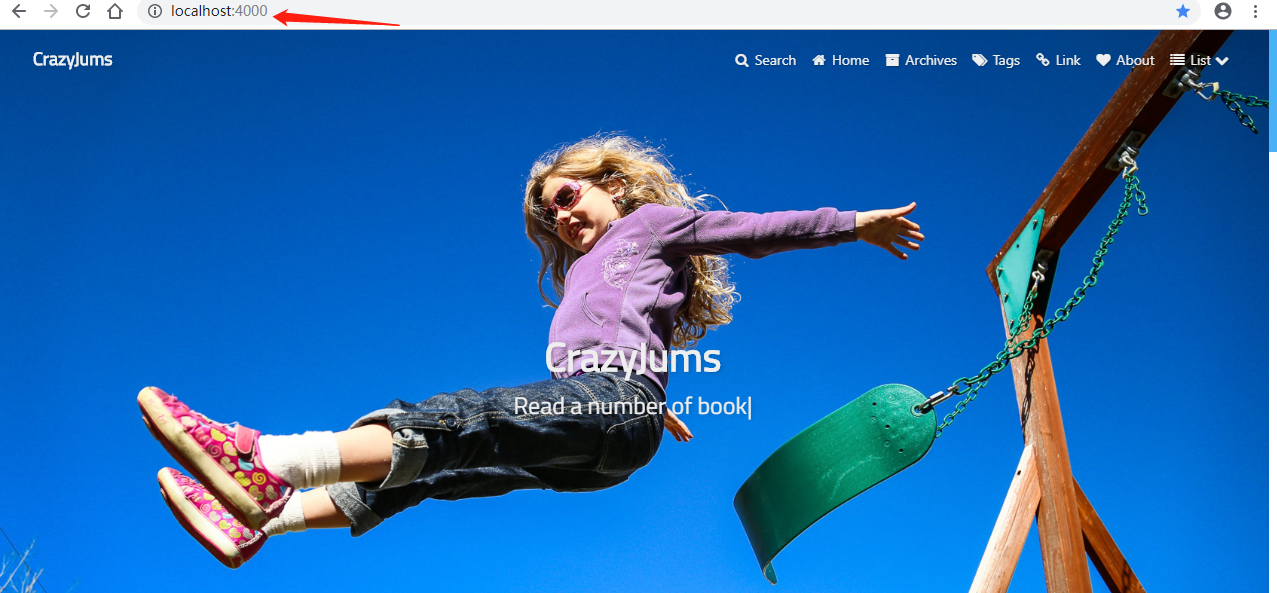
3.3 部署hexo到GitHub
上面讲完了如何在本地安装使用hexo,但是我们的终极目的就是通过互联网访问自己的个人博客,这里通过GitHub page作为“服务器”来使用,当然你也可以使用腾讯的 coding 来作为自己的“服务器”来配置coding page,但是我个人觉得,coding没有GitHub好用,个人觉得,大家可以尝试一下,然后在做选择。但是coding有一个好处,就是coding的服务器在国内,而GitHub的服务器在国外,所以GitHub有时候会卡一下,速度上没有coding快,你们决定吧。
安装git插件:
1 | npm install hexo-deployer-git --save |
这里将一下如何将自己的静态page部署到GitHub,当然你可以同时将page同时部署到GitHub和coding上,可以参考这篇 博客,这里只讲如何部署到GitHub,我们需要修改hexo根目录下的_config.yml文件,记住,是根目录下的_config.yml文件,不是themes下的_config.yml文件。
1 | # Deployment |
配置完成之后,我们使用
hexo d/deploy命令进行部署,
4 hexo美化
4.1 创建其他页面
hexo默认就只有两个两面,一个是home,另一个是archives,如果我们想要创建其他的固定页面的话,我们需要使用命令hexo new page "your page",记住和hexo new "post page"区分开。
区别:
hexo new page ""用来创建一个页面,他会在hexo的source目录下创建一个index.md,用来生产.html页面,hexo new "your post"用来生产post页面,也就是我们需要发表的博客页,它会在hexo/source/_post目录下生产一个your-post.md文件,在hexo g命令之后,会在public/目录下生成一个.md文件,用来放你写的博客。
举例:
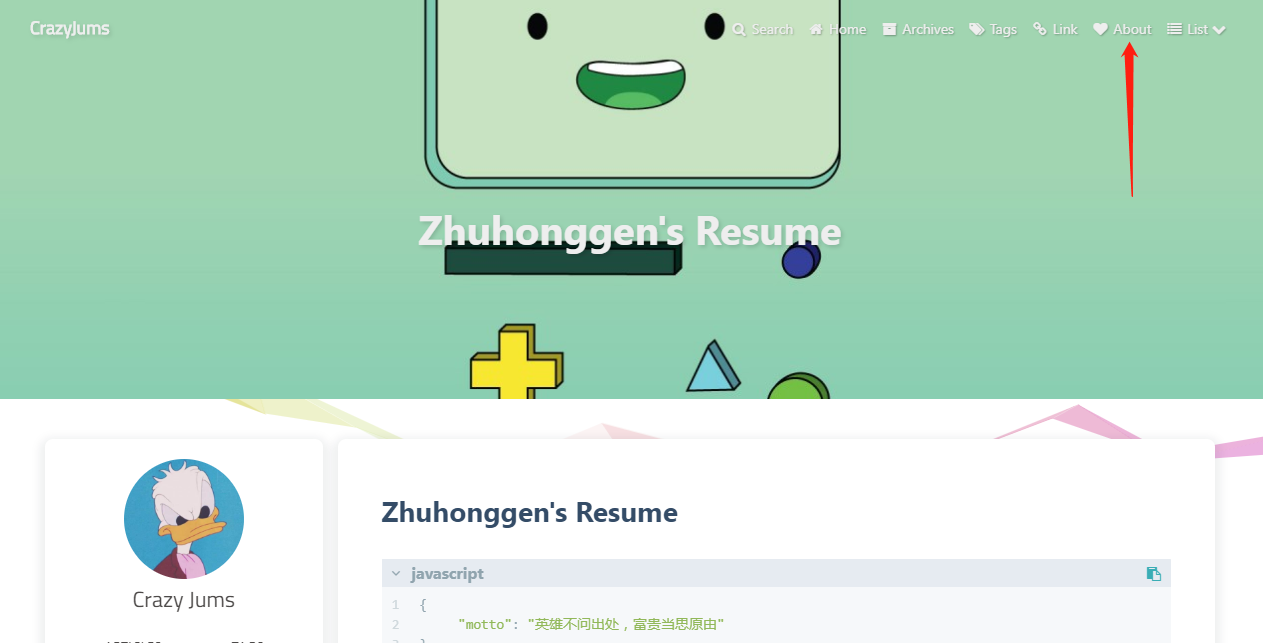
使用hexo new "about"创建自己的简历页面,如下所示: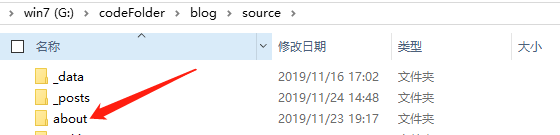
配置页面:
打开 about文件夹下的 index.md文件,然后在台头上加上如下语句:
还要对themes目录下的_config.yml文件进行配置,如下所示:
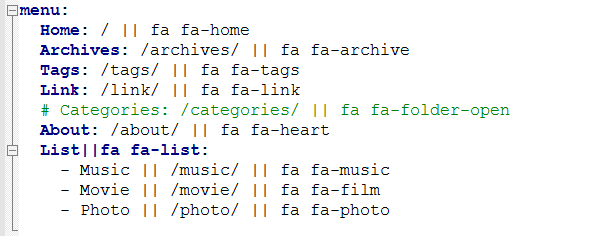
#表示注释的意思
推广:
我们配置完about页面之后,其他的页面我们可以按照这种方法进行配置。这里不多介绍。
4.2 配置搜索页面
hexo提供了本地搜索功能,搜索本地的静态网页,首先我们需要安装一个三方包:
1 | npm install hexo-generator-searchdb --save |
然后配置相应的配置文件,如下:
然后就是hexo clean和hexo g -s,然后就可以看到那个搜索按钮了,如下所示: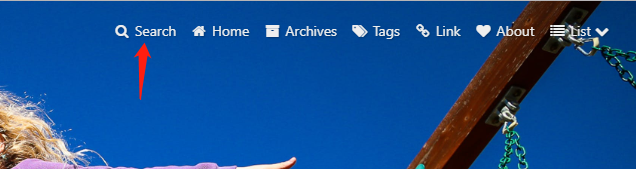
4.3 配置百度站长
4.3.1 添加站点
百度搜索“百度站长”,如下: 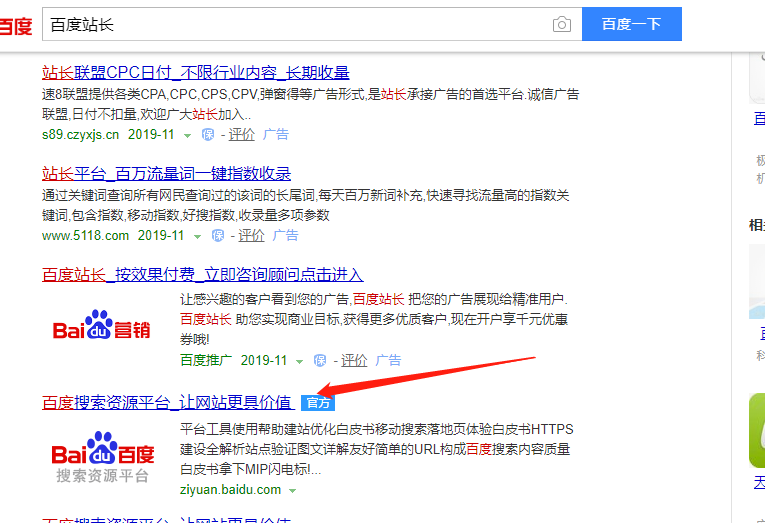
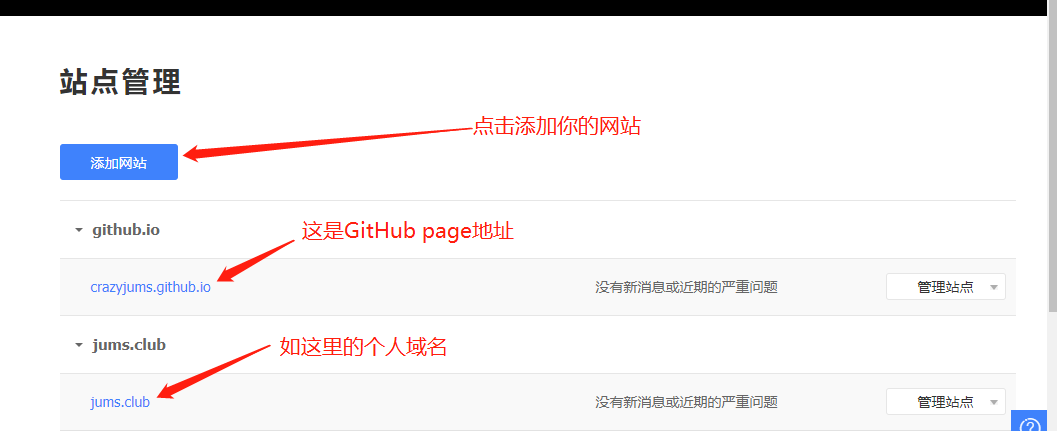
百度账号登录或者微信登录都可以,下图进入到站点管理界面:
4.3.2 验证站点
进入到相应的站点进行管理,点击验证,有三种验证方式,这里推荐使用文件下载验证,如下所示: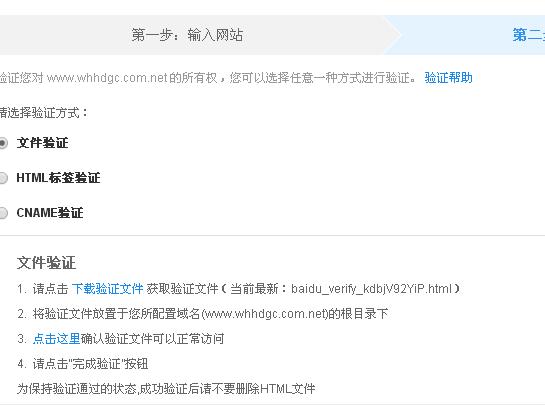
安装步骤验证完之后,接着在来配置站点地图
4.3.3 配置站点地图
下载三个包:
1 | npm install hexo-generator-baidu-sitemap --save |
配置:
进入到根目录下的_config.yml文件中,进行配置,加入下面的语句: 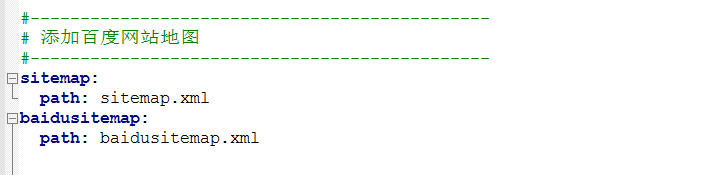
1 | #---------------------------------------------- |
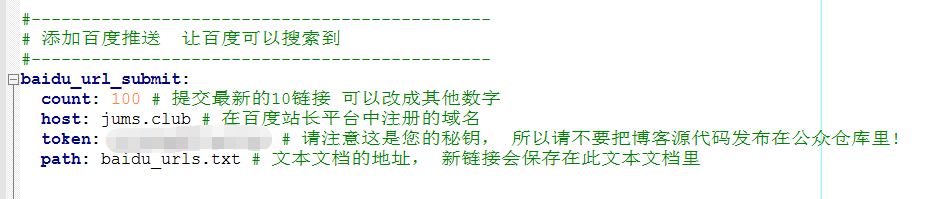
1 | #---------------------------------------------- |
配置deploy: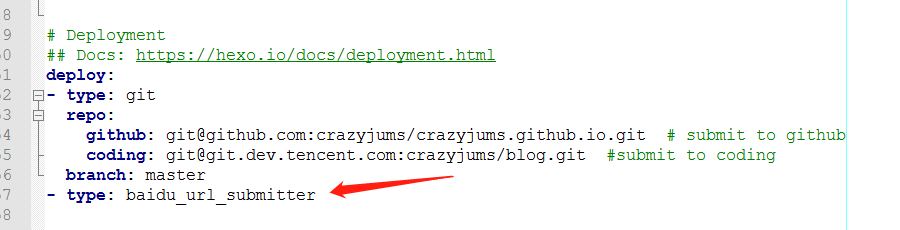
1 | - type: baidu_url_submitter |
上面三个配置都是在根目录下的
_config.yml文件中进行配置的。
4.4 SEO优化
最后的网站就是我们只要点三次,就可以到达我们网站的任何网页,这样的话,我们的网站就可以更好的被百度爬虫爬取到,但是
hexo的博客目录是year/month/day/blog_name进行排序的,这样严重影响了搜索的效率,下面我们一个插件,直接使用your_domain/blog_name的格式进行排序博客。
安装:
1 | npm install hexo-abbrlink --save |
配置:
同样,也是在根目录下的_config.yml文件中进行配置,如下所示: 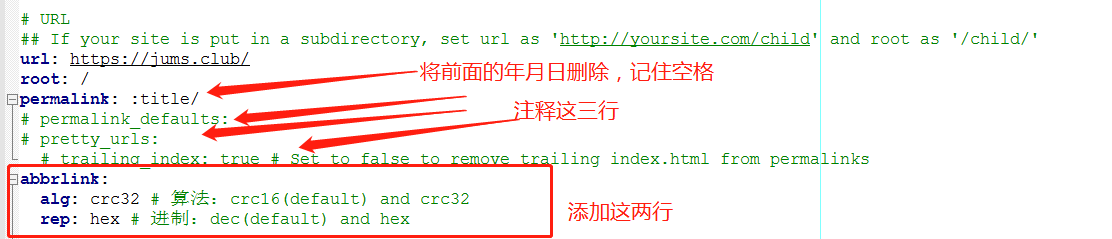
1 | abbrlink: |
5 hexo插件
5.1 安装豆瓣插件
安装
1
npm install hexo-douban --save
配置
在主配置文件
_config.yml中配置以下参数:(不是主题配置文件)1
2
3
4
5
6
7
8
9
10
11
12
13douban:
user: mythsman #这里填写你的豆瓣账号用户名
builtin: false
book:
title: 'This is my book title' # 这是页面的标题
quote: 'This is my book quote' # 这是页面中引用的一句话
movie:
title: 'This is my movie title'
quote: 'This is my movie quote'
game:
title: 'This is my game title'
quote: 'This is my game quote'
timeout: 10000 #延迟时间- user: 你的豆瓣ID.打开豆瓣,登入账户,然后在右上角点击 “个人主页” ,这时候地址栏的URL大概是这样:”https://www.douban.com/people/xxxxxx/" ,其中的”xxxxxx”就是你的个人ID了。
- builtin: 是否将生成页面的功能嵌入
hexo s和hexo g中,默认是false,另一可选项为true(1.x.x版本新增配置项)。 - title: 该页面的标题.
- quote: 写在页面开头的一段话,支持
html语法. - timeout: 爬取数据的超时时间,默认是 10000ms ,如果在使用时发现报了超时的错(ETIMEOUT)可以把这个数据设置的大一点。
5.2 hexo支持流程图
安装
1
npm install --save hexo-filter-flowchart
使用说明
操作模块 说明 start 开始 end 结束 opration 普通操作块 condition 判断块 subroutine 子任务块 inputoutput 输入输出块 流程图案例
5.3 hexo支持数学公式
安装
1
npm install hexo-math --save
配置
在主题的配置文件中,修改一下参数:
1
2
3# MathJax Support
mathjax:
enable: true # 将false改成true用法
5.4 压缩静态资源
5.4.1 安装插件:
1 | npm install gulp -g |
1 | npm install gulp,babel-core@6.26.3, gulp-minify-css,gulp-uglify,gulp-htmlmin,gulp-htmlclean,gulp-imagemin,gulp-babel@7.0.1,babel-preset-es2015@6.24.1 --save |
5.4.2 创建gulpfile.js文件
在 Hexo 站点下根目录下新建gulpfile.js文件,文件内容如下:
1 | var gulp = require('gulp'); |
5.4.3 修改主配置文件
将根目录下的配置文件_config.yaml做如下修改:
1 | # URL |
修改:
将上述配置中的第5行进行修改,将改成这样::title/,注意:和/,将前面的年月日删除。
5.4.4 静态资源压缩
只需要每次在执行 generate 命令后执行 gulp 就可以实现对静态资源的压缩
1 | hexo gulp |
5.5 配置gitalk评论
5.5.1 注册OAuth Apps

注册完之后,可以查看对应的client ID和client Sercet:

5.5.2 在hexo中配置
打开主题的配置文件:_config.yaml,配置一下内容:
1 | comment: |
5.5.3 配置github page
如果前面的OAuth Apps注册的是https的,那么在github page也需要设置https:

5.5.4 开始使用
当第一次使用时,可能会遇到如下的问题:
如果遇到这两个问题,可以做如下检查:
- 看看是否在
github page中设置了https - 看看
OAuth Apps中的你的网站链接的末尾是否添加了一个/符号 - 你的配置文件中的信息是否填写正确,参见修改配置文件
写在最后
欢迎大家关注鄙人的公众号【麦田里的守望者zhg】,让我们一起成长,谢谢。
 wechat
 alipay
 bitcoin